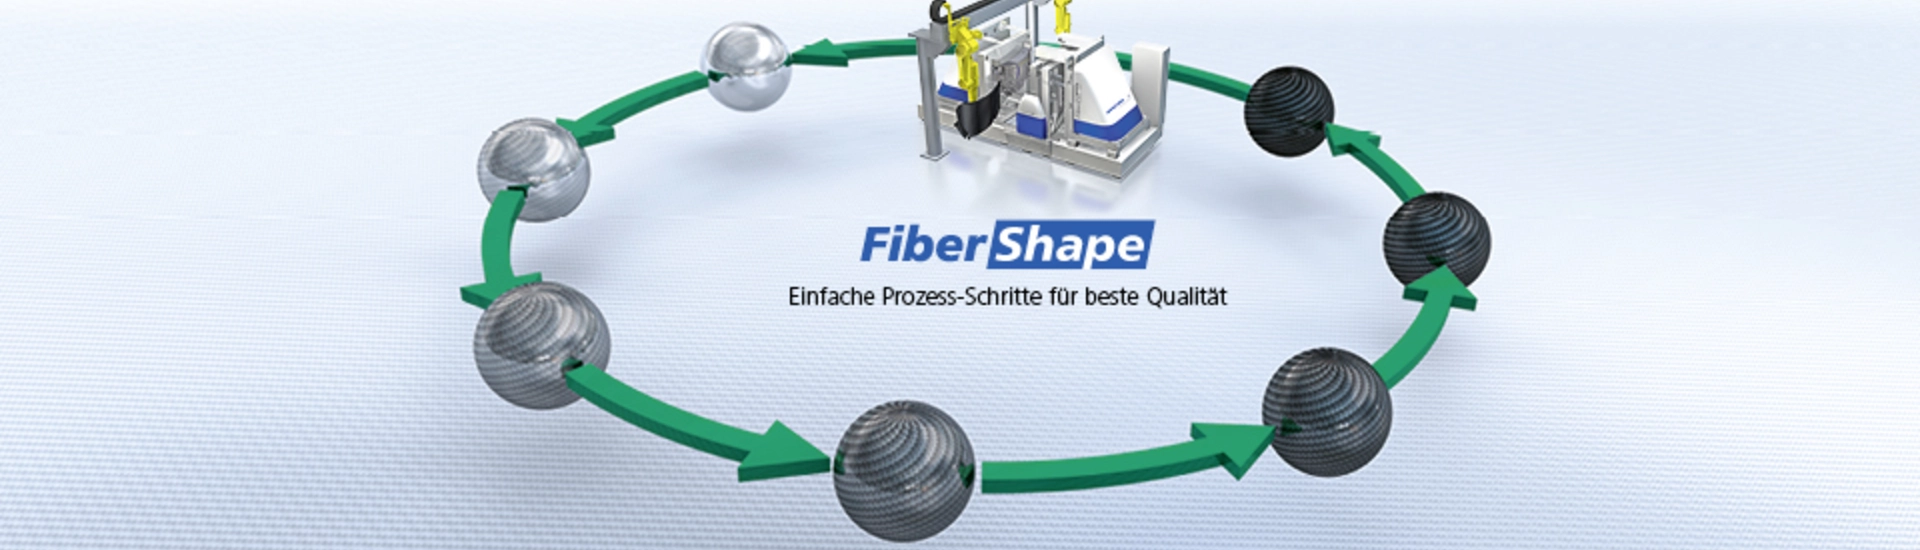


BREYER FiberShape
Simple process steps for the best quality
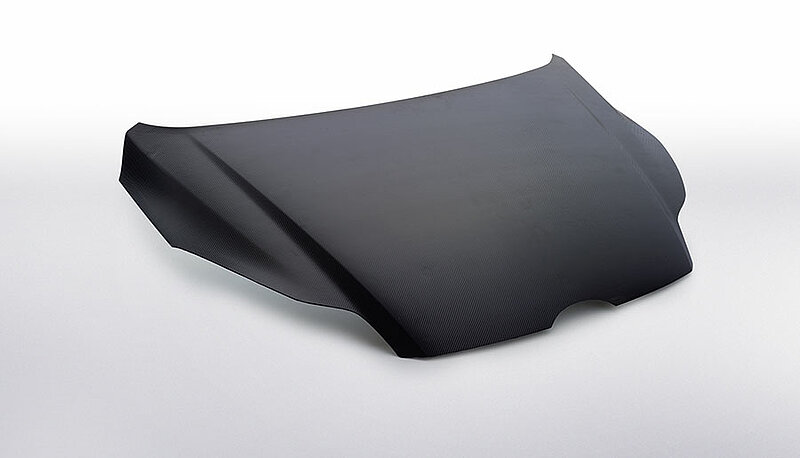
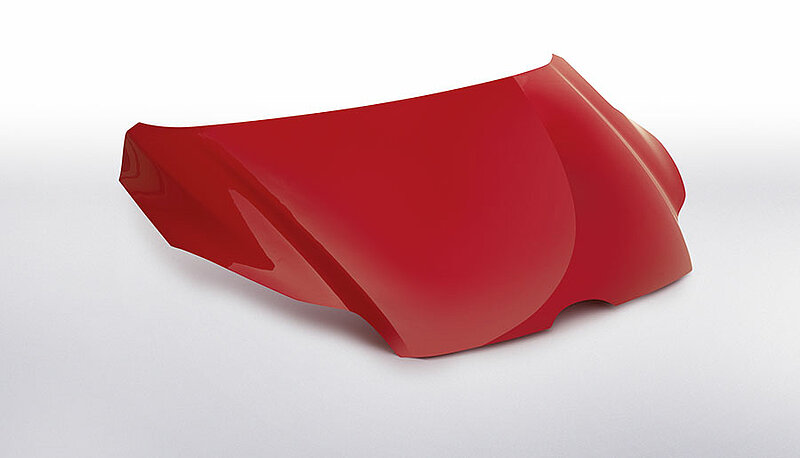
The process is particularly cost-effective as the cycle times are shorter compared to other processes.
Furthermore, the process results in components with a surface that is largely paintable. This means there is no longer the need for time-consuming surface treatments. The painting time is therefore significantly reduced.
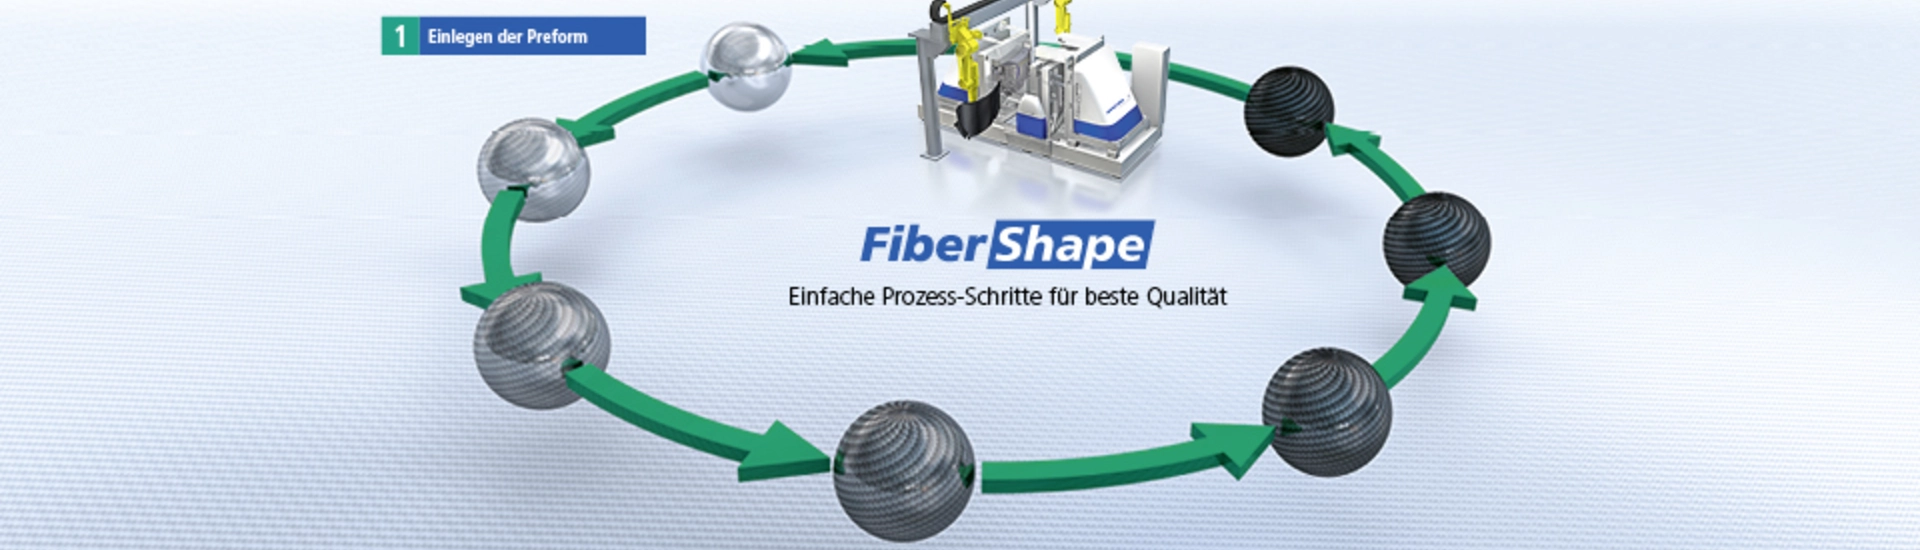
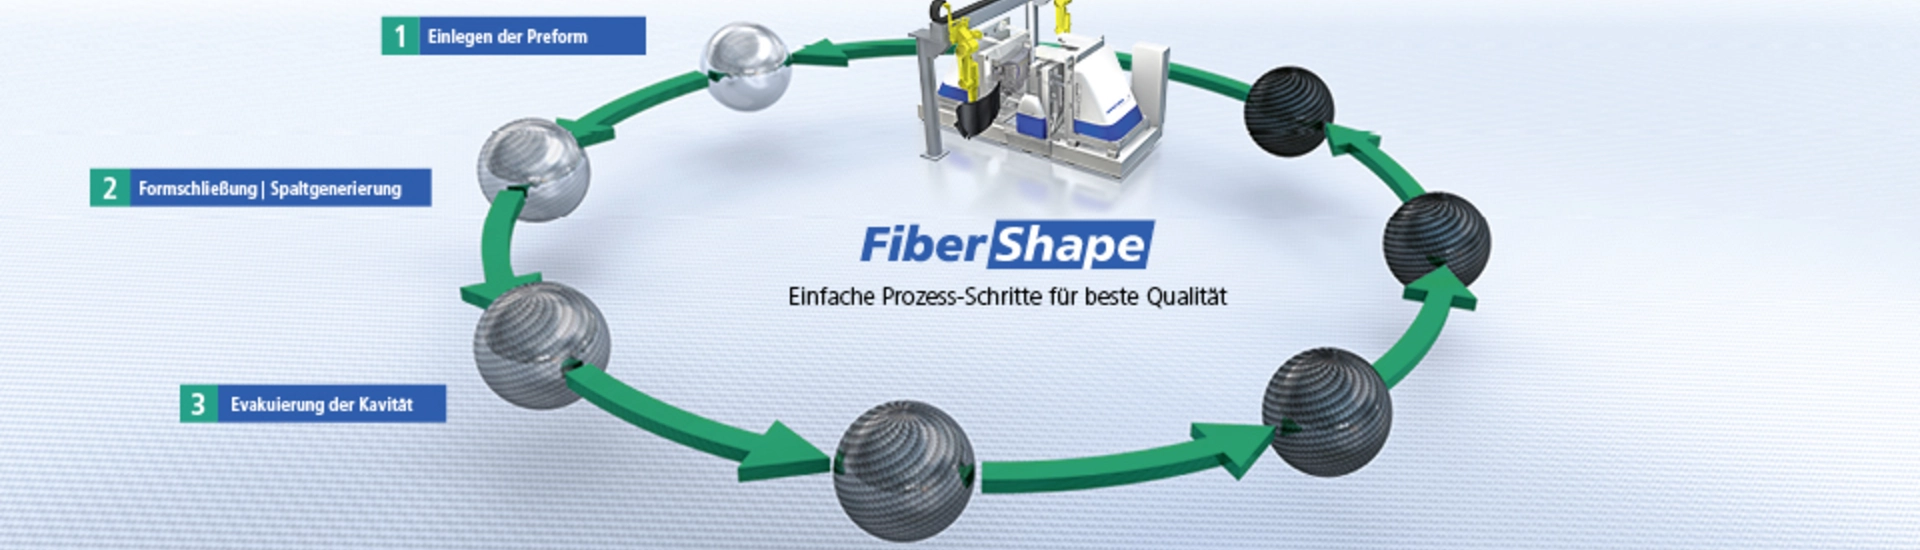
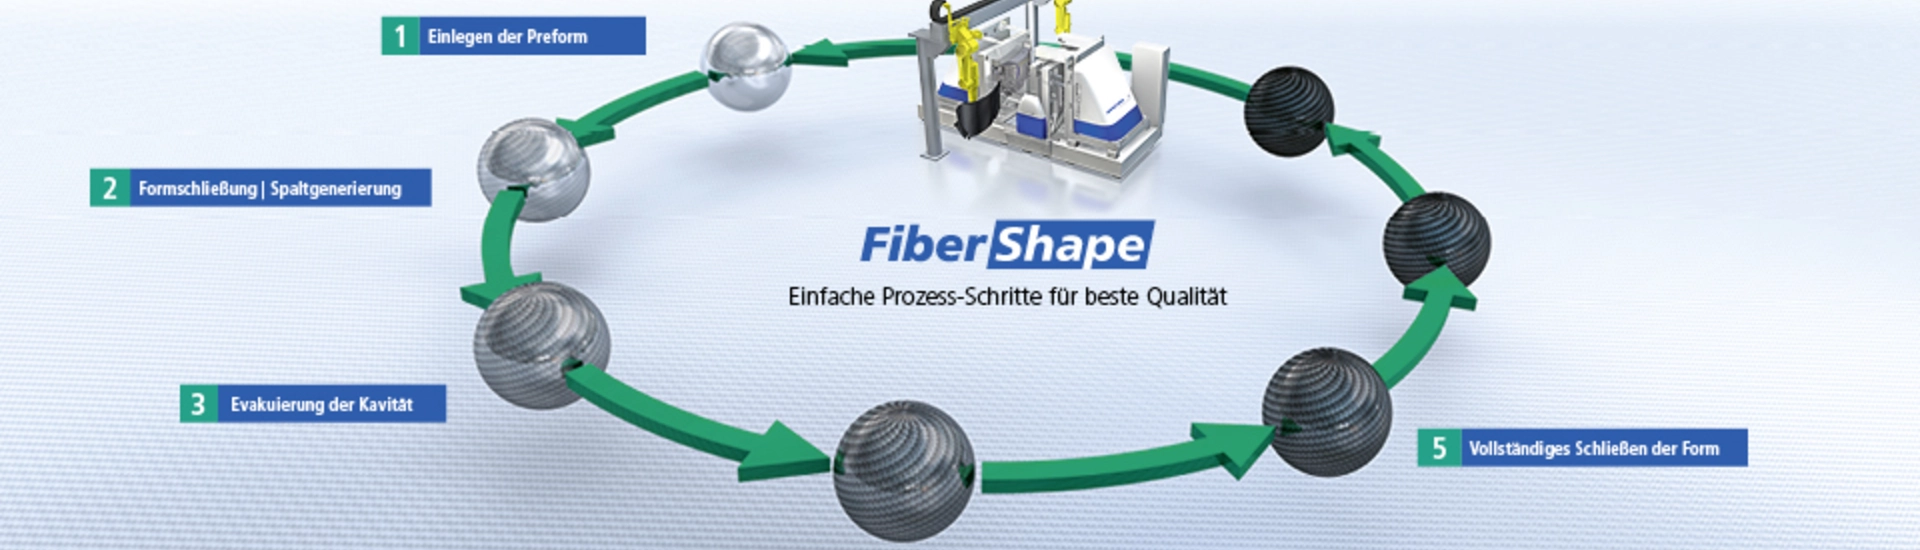
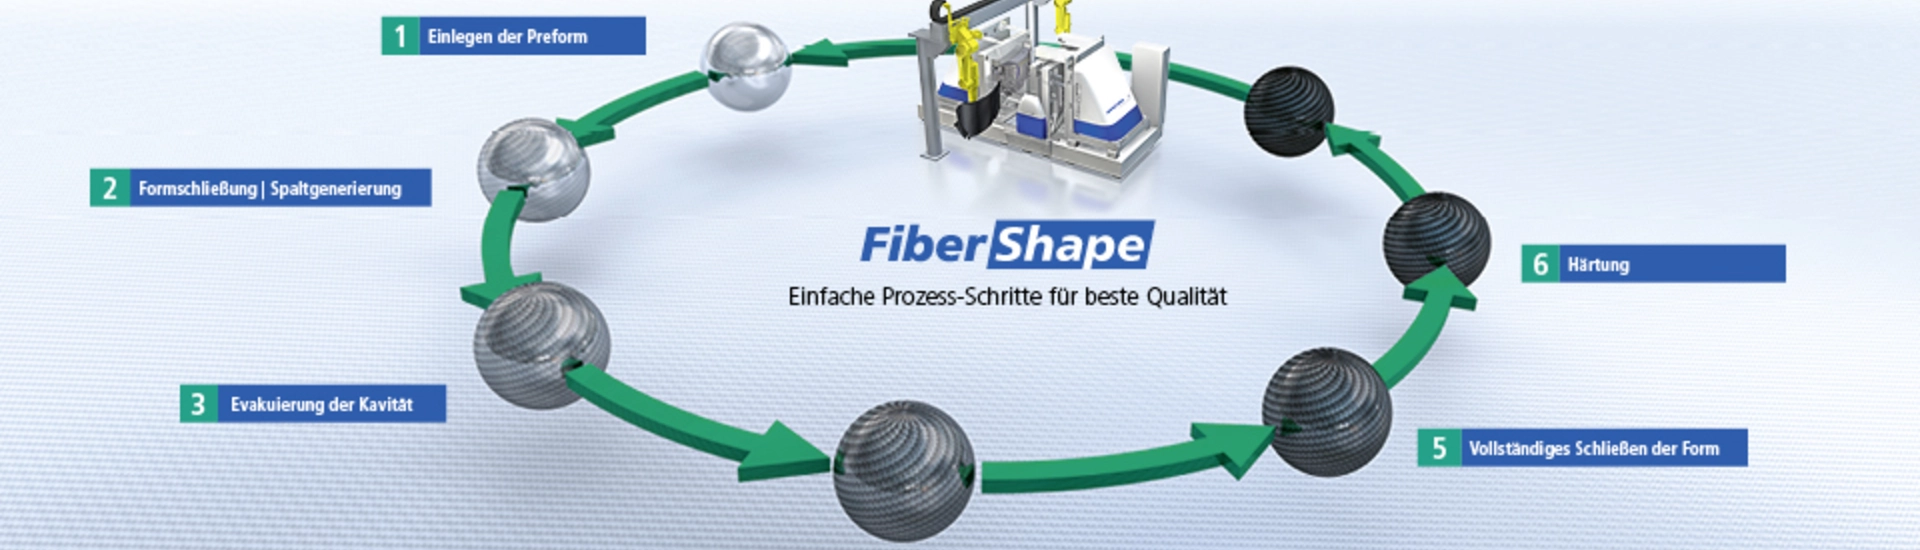
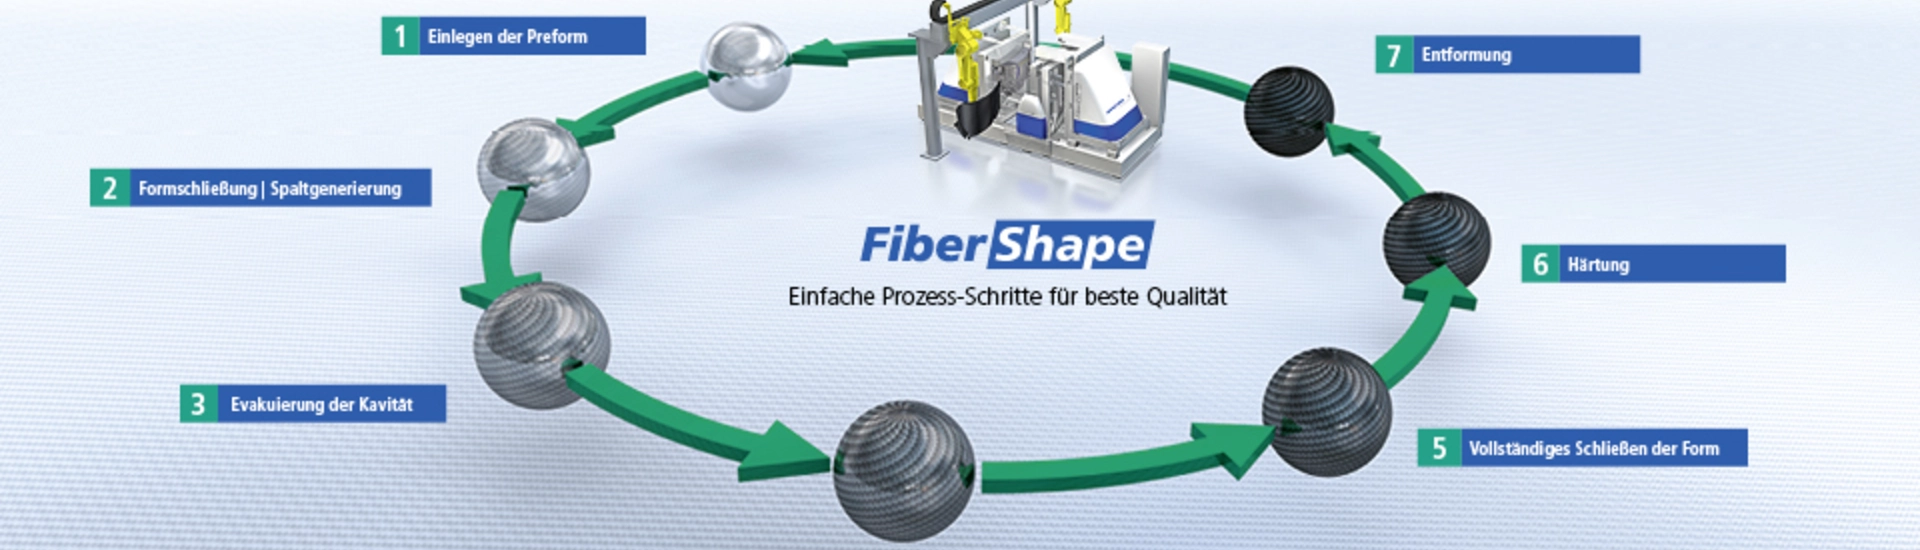
1.) Loading the preform
The near net shape production of the preform1 ensures the efficient production of the finished component. The preform can be easily loaded into the tool and fixed.
2.) Closing the mold and creating the gap
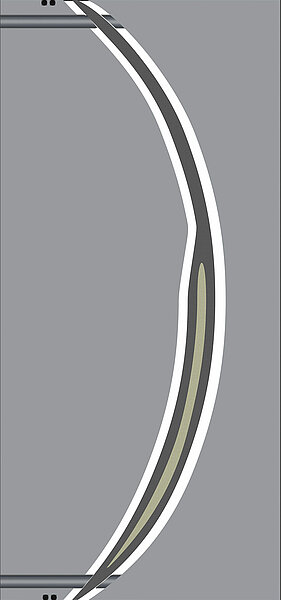
The preform is held by special BREYER fixing pins whilst the two mold halves are driven back. This results in each side having a pre-defined gap tailored to the product. This means that later on, the resin can be injected evenly on each side of the preform, complying with the
Ply Book2 and the required resin quantity. In addition, the required fiber volume content is reached.
2) Ply Book: Layer structure plan
3) Evacuating the cavity
Evacuation minimises the content of the cavity3 by degassing the resin early on. This also reduces the air resistance of the resin flow in the cavity.
3) Cavity is a concept in metallurgy and means a hollow space created when cast parts solidify.
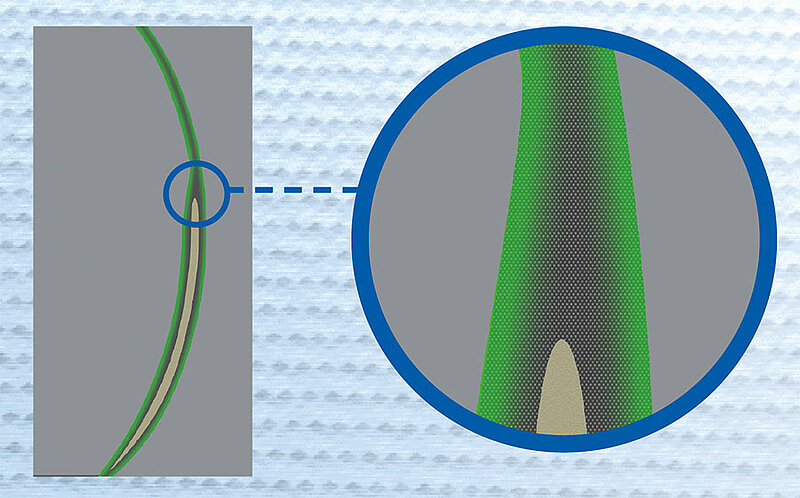
4) Injecting the resin
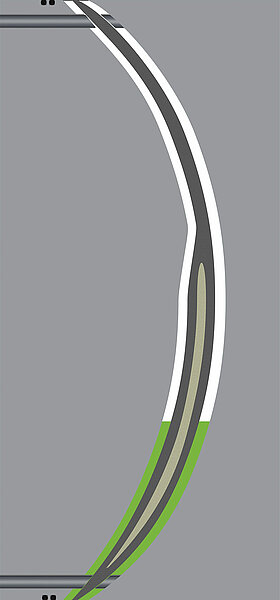
The resin can be injected at low pressures. This prevents fiber washout. As the resin is injected from below, it is distributed evenly on both sides of the preform and makes it possible to use
foam cores4.
All types of inserts can be used.
4) A foam core is used to be able to make components with high-quality characteristics and an extremely low weight.
5) Complete closure of the mold
The gap closing sequence can be precisely adjusted to produce a linearly increasing resin front. At a low resistance, the resin first flows upwards in the gap and then impregnates the preform in a z-direction as soon as the pressure increases as a result of the mold closing.
The impregnation time is thus reduced to a minimum.
6) Hardening
Depending on the resin used, either isothermal or variothermal resin hardening takes place at high temperatures. Isothermal hardening is usually the preferred choice due to lower cycle time. The fast injection and fast impregnation step means a very fast-reacting resin can be used.
7) Demolding
Demolding is carried out using BREYER locating pins, which can also be used as individually controllable air ejectors. As a result the finished component can be gently demolded without mechanical force. A gantry robot can lead the component through the finishing work steps in the open system.